
Volumio 3 music player for the Raspberry Pi updated YouTube
What You'll Need There are a lot of options to take into account when setting up your sound system. This isn't the place to debate over speaker configurations, though. There are some bare essentials that you'll need if you want to get set up with Volumio. Raspberry Pi (pref version 3) MicroSD card for the operating system Ethernet cable

Raspberry/Volumio standalone player with ES9023 DAC and SSD Diy Volumio Projects
Install Volumio on the Raspberry Pi As mentioned in the introduction, Volumio is now available within Raspberry Pi Imager, so the installation steps are straightforward: Install Raspberry Pi Imager and start it. Find Volumio in the OS list. Select your SD card in the storage list. Click on "Write" to start the Volumio installation.

One of the great use of Raspberry is to convert it into a music player using Volumio. In this
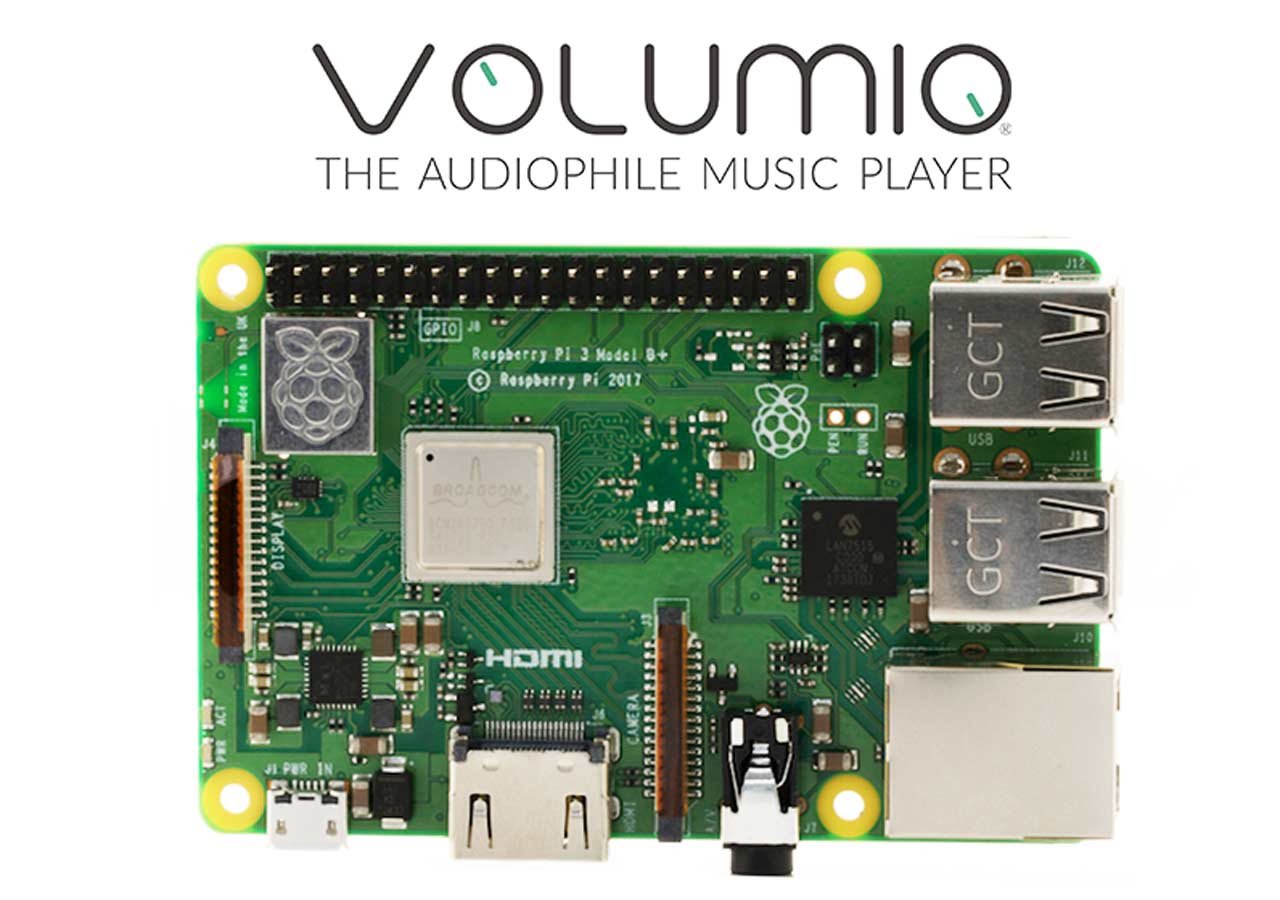
Volumio born as open-source OS. The first compatible and most performant 3rd party platform is Raspberry PI. There are Volumio images available on www.volumio.com for the Raspberry Pi (RPI4 and model B+, Raspberry Pi 3 Model B, Raspberry Pi 3 Model B+, Raspberry Pi Zero, Raspberry Pi Zero W.), The IMG file is also available for x86/x64 , Asus.
Amazing DIY Raspberry Pi audio player with Volumio
Volumio is a Raspberry Pi software dedicated to create a music player.You can play any file type with a good quality and use the web interface to manage it.I.
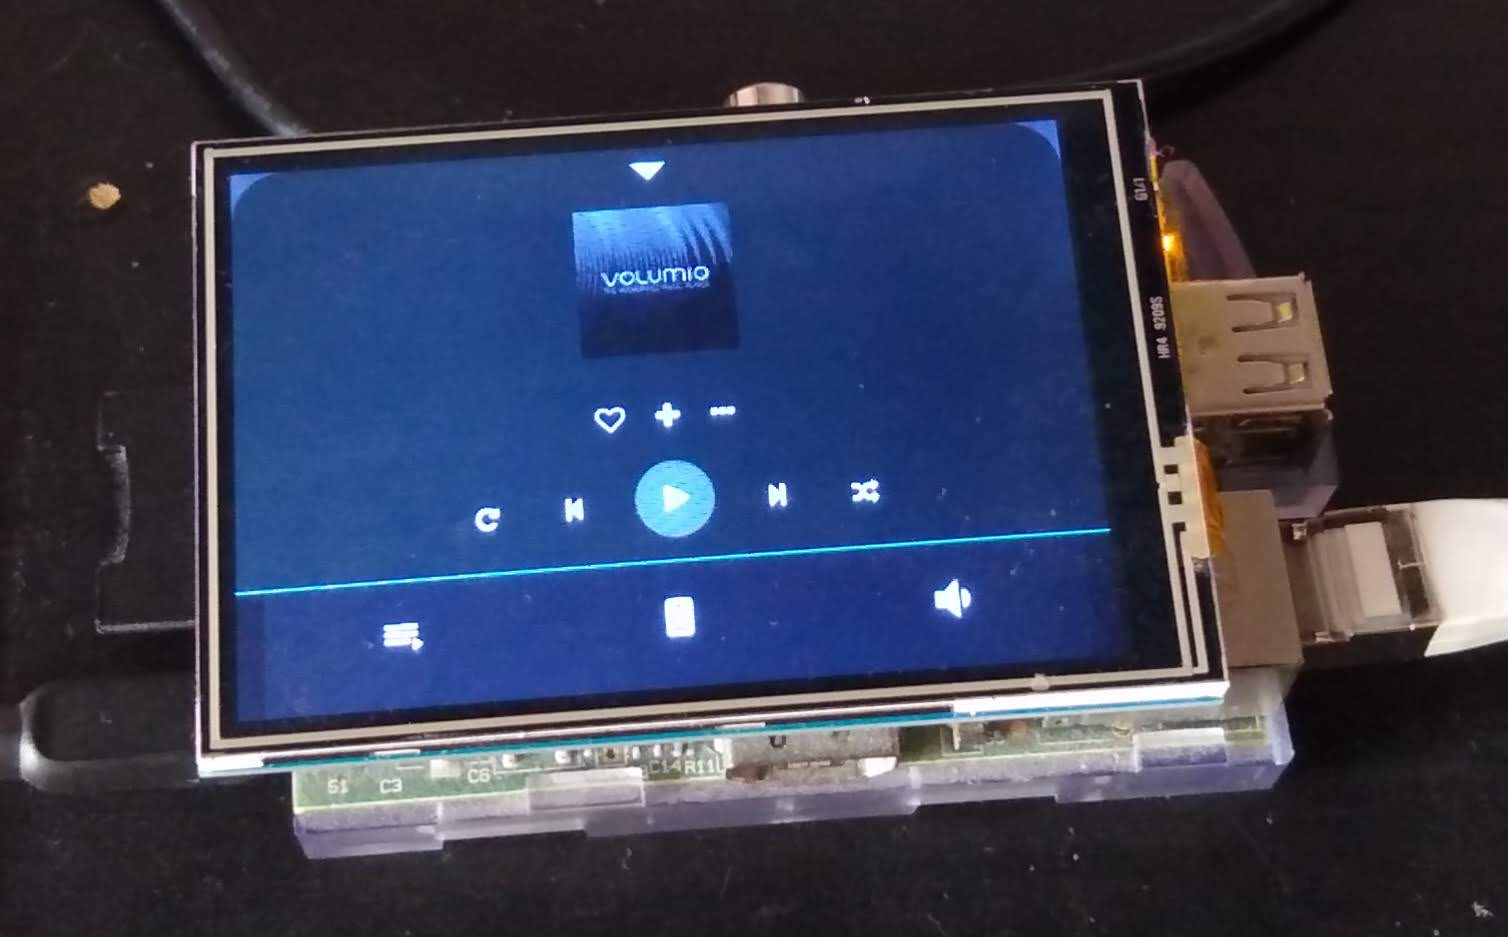
Tech stuff Running Volumio 2 on a Raspberry Pi 2 model B with a 3.5" Touchscreen
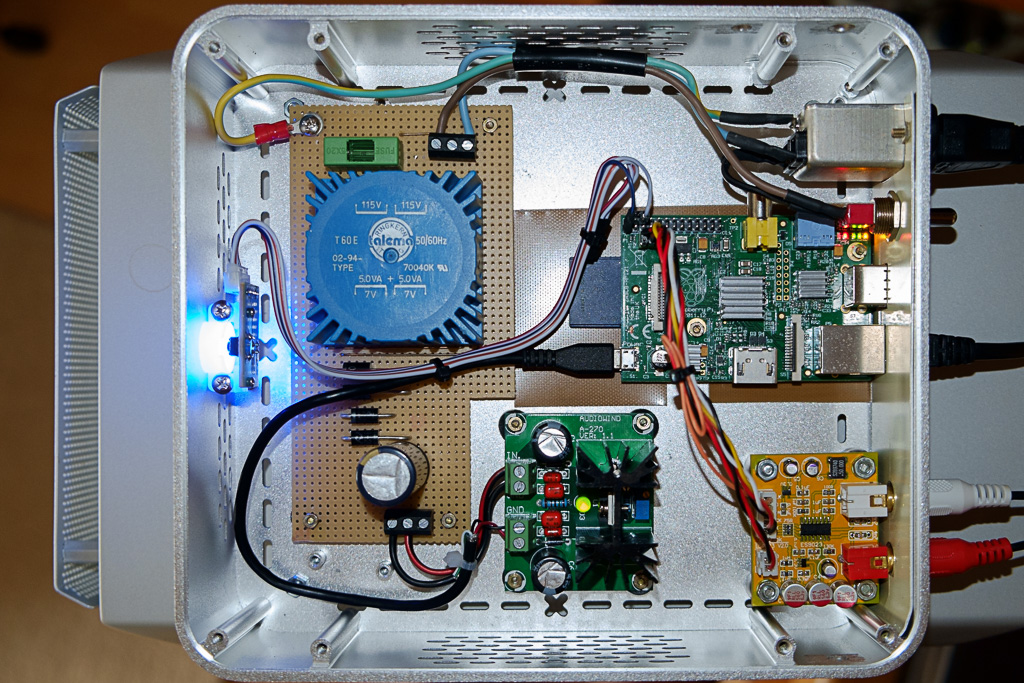
Scenario 1: My little Raspberry Pi (powered by Volumio, of course) is hooked up to a zillion dollar USB DAC, which feds my interstellar amplifier. My precious one and zeroes are facing this path: Raspberry Pi -> USB Bus -> USB Cable -> Zillion Dollar USB receiver -> I2S -> Zillion Dollar DAC -> Interstellar Amplifier Quite a long way, isn't it?
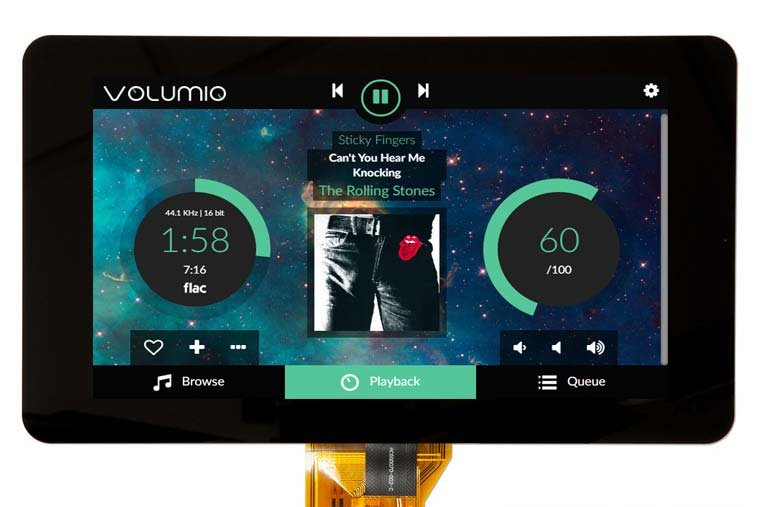
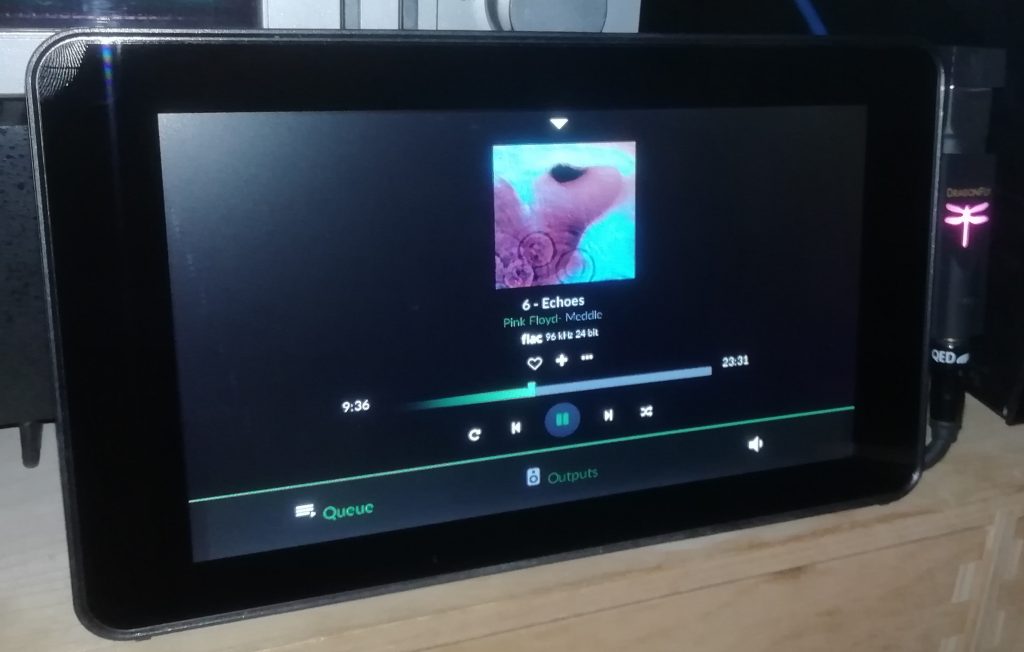
Raspberry PI Display and Volumio a touchscreen music player · Volumio
arckuk October 30, 2021, 7:39pm 1 Hi All I've got my hands on a new Raspberry Pi Zero 2 W, which I was hoping would provide a little bit of extra processing power over my current beloved Pi Zero W with Pirate Audio DAC running Volumio with @AxLED 's excellent pirate audio plugin.
The new Raspberry PI 3B+ audiorelated review · Volumio
Volumio works effortlessly with lots of devices, bringing you your music in top-notch quality. Whichever way you decide to listen, Volumio has you covered. Select one of our award-winning music streamers: Rivo, Primo, or Integro, or check out our free software for devices like. Raspberry Pi or PC.

How to Install Volumio on Raspberry Pi 5 Steps Instructables
Setup on Raspberry Pi 4 was smooth and quick. However, every time I power down the Pi it seems like I have to physically login to start the service? Is there an option to automate this I missed? barring that can I SSh in adn do it? The goal is to have this operate as a headless device. chsims1 November 8, 2021, 9:37am 2

How to install Volumio on the Raspberry Pi Pi My Life Up
How To Install Volumio 3.3 UNIVERSAL to create an Airplay streaming endpoint with a Raspberry Pi and Balena Etcher Create an Airplay streaming endpoint with a Raspberry Pi and Volumio Note: This post assumes you are using Balena Etcher to install software to your Raspberry Pi's Micro SD card.

Volumio Raspberry Pi 3 Install How to Install Volumio on Raspberry Pi YouTube
Overthinking Tech 834 subscribers Subscribe Subscribed 179 15K views 1 year ago This is part 1 of a multi part series on Volumio setup and home integration. Today we are looking at how to.

Raspberry PI Display and Volumio a touchscreen music player · Volumio
Installing Volumio to the Raspberry Pi The first step is downloading Volumio and flashing it to your Raspberry Pi. This tutorial flashes the system image using Etcher, as it's free and cross-platform. If you haven't already installed Etcher, head over to the balenaEtcher website and download the latest version.

Getting Started with Volumio on Raspberry Pi The best Spotify player YouTube
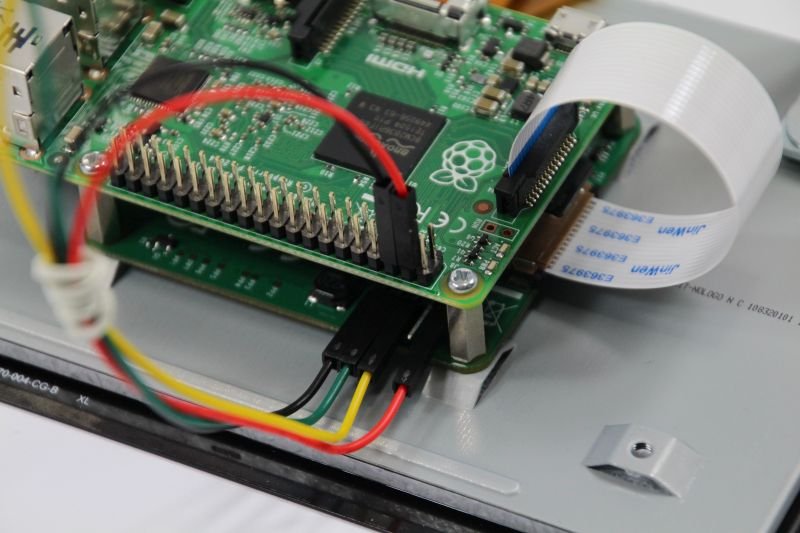
STEP 1: The wiring Assuming you've already downloaded and flashed Volumio to your Raspberry PI (we suggest to use the newest Raspberry PI 3), the first step is the wiring: First, let's attach the ribbon cable going from the Raspberry PI Display to the PI itself.

3DDatei Raspberry Pi Box für Volumio, 5 Zoll Display kostenlos・3Ddruckbare Vorlage zum
Step 1: What You'll Need Etcher Volumio Raspberry Pi 1, 2 or 3 8GB MicroSD Card Ask Question Step 2: Getting the Latest Volumio Image Go to http://www.volumio.org. Click on the "Download" Button. Select "Raspberry Pi" and then click on "Download" Ask Question Step 3: Flash the Image
The new Raspberry PI 3B+ audiorelated review · Volumio
updated in years. ----- > Raspberry Pi 4 Model B 2019 (4GB) - Amazon $60.95 ---- Since this is a high fidelity project let's try to not insert noise into the environment at the very beginning. The iFi supply supports more than enough voltages and amps to handle the Pi 4. > iFi iPower Low Noise DC Power Supply - Amazon $49.00 -----

Pin on Smart Home Automation
VOLUMIO USER GUIDE. In this section you will find all user manuals and quick start guides for Volumio Software and Volumio Products. This section will give you an overview of how to set up Volumio and some key functionalities. VOLUMIO RIVO. VOLUMIO INTEGRO.
Digital Streamer now with Volumio on Raspberry Pi. Wired Wood
#Volumio #RaspberryPi #MusicFull steps can be found at https://i12bretro.github.io/tutorials/0674.html-----.